Tuesday, August 19, 2008

Change update.

I have some competition. Whenever I am out it is usually with my girlfriend, and she has a voracious appetite for finding change. She has probably knocked me out of at least $.30. Incidentally she has promised a 5 spot and is on the list of predictions. She could manipulate the game in such a way to where she could win the pot herself by either tipping me off that there's a coin on the ground, or picking it up without letting me know if I were to find enough change for her to be in her prediction bracket. Luckily, there's little to worry about, because she is a genuinely honest person. That or a really really good liar.

Aside from the threat of sabotage, it has been sort of a dry period for finding change. Maybe she is trying to sabotage the game? Anyway, with the dry times, comes less things to mention on the topic. I had sort of decided to wait until I found at least three different mangled coins before I would post them, but sabotage is interesting enough to supplement with one photo of a mangled coin.

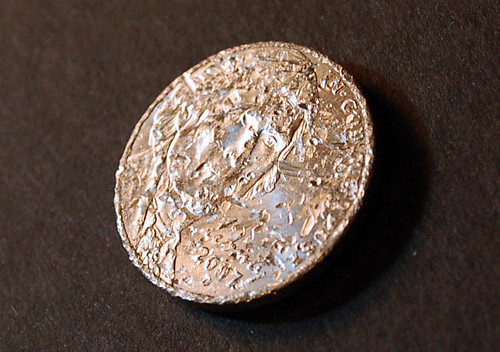
Thrashed Nickel

I found this one at a Hardee's drive-thru window. Mind you, I did say that drive-thru windows were off limits if I were to intentionally scour them, or open the door when I'm pulled up to one. But this situation is a little bit different in that we parked on the side that the drive-thru was on, and just past the window is the door to walk in to place an order. Because of this, it's pretty easy to see and grab any change that people had dropped.

The other side of the coin was relatively unharmed. Apparently asphault is a bit rougher on a coin than a rubber tire is. Go figure!

Monday, August 11, 2008

The Big Boss.


About Adult ADD

Despite some flaws I would have to say that I am pretty proud of this short. I'm also glad it is finished. Be on the look out for others to come your way soon.

Vegeterrorists

I helped raise a duck from a day old to a little over two months old. I have fed it, gave it water every day, and I watched it play in a big tub full of water with vigor. This week I'm going to eat it.

Many people won't have such a dose of reality presented before them. Even though a lot of people won't have to deal with this issue, I think it is very important to have to face it. I am against the message that the political vegetarians present. Don't like the taste of meat? That's fine. Cruelty to animals sucks too. But refusing to eat flesh because of a soft heart is ridiculous to me.

I can't say that I don't have a little soft spot in my heart for the duck, but to protest that it not serve as my nourishment would be hypocritical of me. Nature's truth is the reason I am so against the vegetarian's political reasons behind not eating meat. Animals eat meat to survive and so do we. Although there are herbivores, their stomachs are made to handle a solely vegetarian diet. There is a reason why our stomachs are made to handle flora and fauna. It is because we are supposed to eat both.

The wrong in all of this is not eating meat, the wrong is in wasting it. Gluttonous eating and wastefulness is shameful. If vegetarians want to protest they should protest the corpulent folks who stay in a buffet restaurant for two hours. By not eating meat I would go as far to say that vegetarians are insulting the needy who would love to have a little bit of chicken on their plate. Do we live in such a coddled society that people actually refuse food on principle? Those who are starving would be disgusted and call it ungrateful.

Perhaps my less than favorable view of the vegetarian way is rooted in my pet peeve of picky eaters. I don't speak of hatred toward the vegetarians, I just don't understand, nor do I accept their choice to not eat meat.

Monday, August 4, 2008

Camera Sensor Cleaning.

There are a few sites that explain how to clean your camera's CCD. Copper Hill Images is the one I bought my equipment from, they also have tutorials on how to clean your camera's sensor. They also sent me a generic slinky with my order which they called a "Magic Spring." Cleaning a digital camera's sensor isn't really all too difficult so long as you have a steady hand and a little patience.

The websites that give you tutorials just get all worked up about how if you really screw up while cleaning your camera, you're going to damage your CCD. Replacing a CCD is very expensive, but from my experience you would really have to try to screw up your sensor to actually do it, especially if you watch or read any tutorials on how to do it at all.


The Arctic Butterfly sensor cleaning brush is ridiculously expensive. I had a trusted source recommend it, but after looking at it, it's really just a glorified brush with a motor used to shake off the dust. But I went with Sensor Sweep which is the brush you see in the tube above.

Something most important to remember with these brushes is that you should Never touch the bristles. Doing so greases it up with your filthy finger crisco and could mean transferring said grease on your sensor. Using either the Giotto Rocket-Air blower (seen below) or a pressurized can of air is supposed to statically charge the bristles of the brush and therefore make it easier to extract the dust from your sensor while clearing it of any dust on the bristles. This is the dry method of cleaning.

When using a pressurized source of air DO NOT use those small CO2 cartridges used in pneumatic powered guns. That type of cartridge usually has a little oil in it that is supposed to lubricate the inside of the guns that use them. Using one of those types of compressed air adapters that fit onto those cartridges for your camera could mean a gunked up sensor. Bad mojo. Using canned air the wrong way could blow frozen CO2 on your sensor. That's why I like the squeeze bulb shown above.


The wet method of cleaning uses the Pec Pads, the plastic and rubber wand, rubber bands and highly flammable methanol. The reason for the methanol is to be sure that it evaporates from the sensor. The reason for wet cleaning is to get any "welded dust" off the sensor. Basically that means that somehow moisture and dust came together on the sensor and sort of glued the dust to the sensor. Blowing into the sensor area with your mouth is a good way to make this happen, even if you manage not to spit, you're still blowing moisture from your lungs into the camera.

That's the basics. Just be careful. And don't say I didn't warn you, making mistakes could cost you a camera. Now go wash your hands!

Monday, July 28, 2008

Customizing your camera.

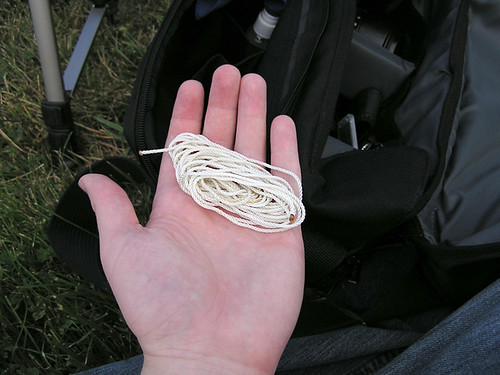
This is a tripod.

String_W

If tied to the plate attached to the bottom of your camera or to the strap brackets on the sides, you can turn this string into a tripod.


Simply step on the string in a wide stance and then raise up to tighten the string so that you can better steady your shot. This method is best done while leaning on a wall. Doing so gives you three bracing points that will really help to steady your shot if you don't have access to a real tripod. Although this is not new, it is useful and can get you up to 3 extra f-stops on a shot in certain situations.


You need about 15 feet of string for this, I am 6 feet tall so 6ft x 2 + 3ft = 15ft because the string had to be double my height in order to reach the ground and each end of the string be attached to each side of the camera. I allowed the 3 extra feet so I could adjust my stance.


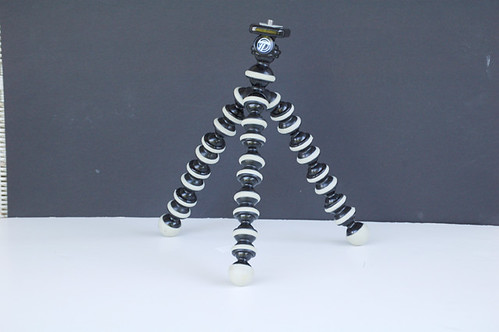
I thought the Targus Grypton tripod was worth buying. I can't say that it wasn't yet, but it amounts to me having screwed it up to where it won't hold up my camera the way it would have if I hadn't immediately tried to customize it.

Minipod Shot_W

Supposed Use_W

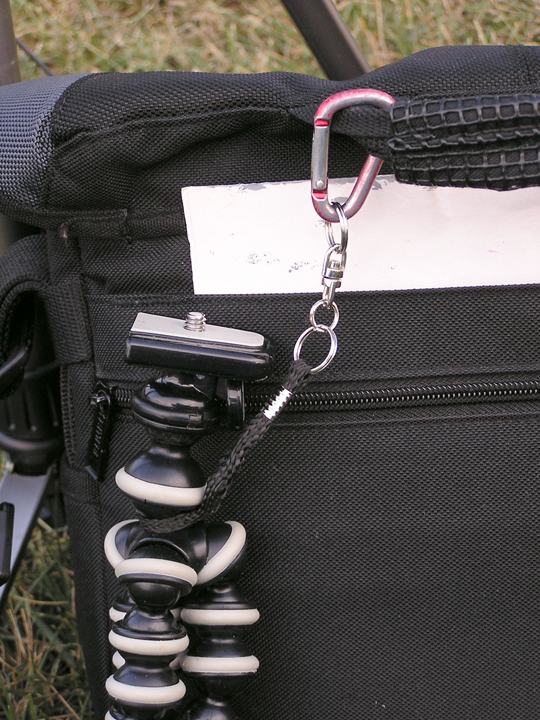
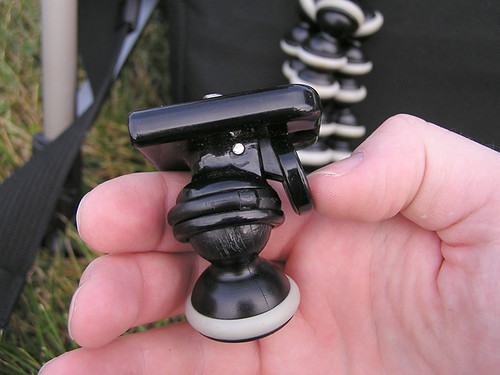
By pulling off the top pieces of the tripod, I was able to fit a strap on it that I could then attach to my camera bag.

Minipod Clip Attach_W

Minipod Clipped_W

In doing so I cracked one of the points of articulation and rendered the tripod somewhat useless. I figure I'll get around to fixing it eventually. Scratching the inside of it was a meager attempt at adding some friction to the parts. Aside from working as a tripod, these things are almost cheap enough to buy 2 or 3 and use them in several different applications. I've thought about converting one into a multi-use tool using different attachments. A magnifying glass, reading light, alligator clips to name a few.

Crack ScratchCannibalized Minipod_W

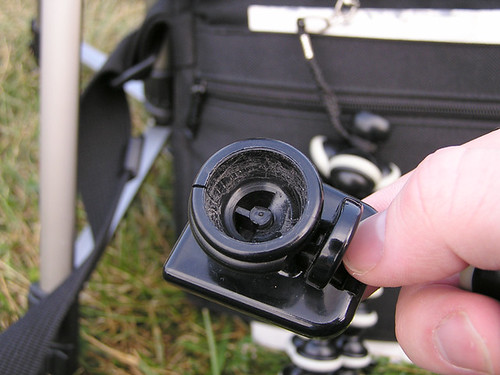
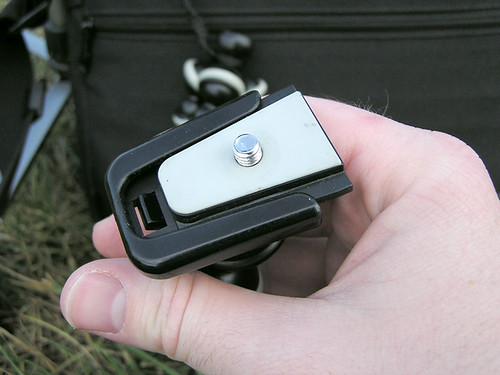
This button loosens the plate, you twist the piece just below it to either lock or unlock the plate release button.

Minipod Placement_W

Finally, the strap for my camera gets in the way often. I looked online and found that some people attach keyrings to each end of their strap and then some clips onto the rings. Here is my solution. This is especially helpful to setup a timelapse more quickly.

Tuesday, July 22, 2008

Grass Man.


Grass Man. from Josh Rose on Vimeo.

Music: Quantum Robot - Introduction

Monday, July 21, 2008

Timelapse Gear

The upcoming posts have been a long time in the making and I am excited to finally be able to post them. I have been perusing the internet to get an understanding of some of the tricks of the trade that a photographer can use to ensure an efficient shoot. I'll be covering three main topics of photography: Time lapse photography, photography gear tricks, and sensor cleaning.

If anybody watched Planet Earth and didn't feel inspired then.. well.. I mean, did you really watch it?! Planet Earth was amazing! I have had a fascination with time lapse and high speed photography for a long time. Finally, I am able to do time lapse and it seems like it will be quite a while yet before I can do high speed photography since the consumer market doesn't have many options (Casio EXILIM Pro EX-F1).

Only if you don't have an eye for it would you miss that there is a lot of time lapse photography on Planet Earth. The bulk of the time lapse shots have very complex movements. In order to do such complex movements the camera has to move consistently and smooth over a long period of time. To do a semi-circular pan of mushrooms growing the camera probably had to move from one side to the other over a week long period and probably quite a bit longer than that.

I don't yet have the capabilities to do such a shot, but with my Meade Telescope mount (shown below) I can pan across a horizon over a period of about three hours. This setup is particularly good for sunrise and sunset shots. I can also track the sun across the sky vertically if I wish.


Also if you have the Meade 497 controller (shown below) for this setup, you can program it to do more complex shots, such as having it pause for a certain length of time before it starts to pan. I have not delved into the intricacies of this tool yet however. The funny part is that if you want the mount to continually move you have to use a rather analog method.


Making the mounting plate for the telescope head is a bit of a DIY project. The way I attached the camera screw onto the plate was by taking the C-Clip off the screw, taking the screw off the tripod plate, putting the screw in the Telescope Head plate and then replacing the C-Clip.
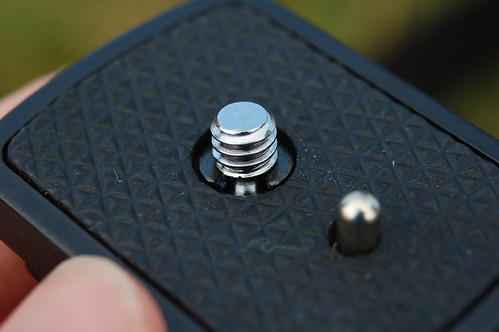
Cheapy Plate C_W


If you want to see other methods take a look at The Milapse Panning System thread on the Timescapes Forum.

Milapse has a lot of good time lapse videos, tips and tricks on his youtube channel here: Milapse on Youtube

I have a Nikon D50 so I couldn't jump straight into time lapse myself. I had to buy the Pclix intervalometer to give me that capability. Some of the newer cameras have an intervalometer built in such as the Nikon D200.
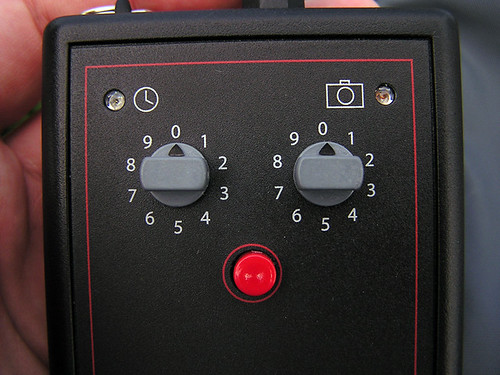
Pclix Front_W

The Pclix will allow up to 89 seconds between intervals. Then presets are available on 90 - 99 which can be customized if necessary. My camera's IR sensor turns off after fifteen minutes. I think if there is constant power however, the limit is negated.

The Pclix originally came with a nylon strap which I replaced with a clip so that I can clip it on my camera as shown below.
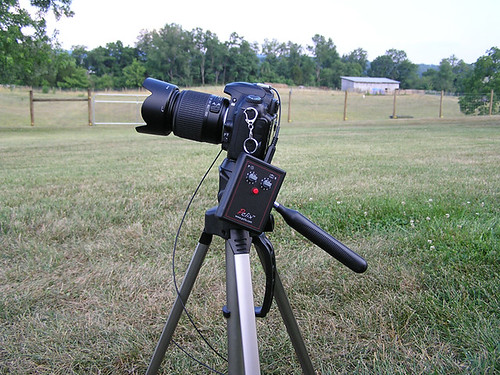
Pclix Setup_W

In order to make sure that a signal is received to trip the shutter every time, the people at Pclix recommended I get a fiber optic cable. They were right too, because the IR sensor is in the front of the camera.
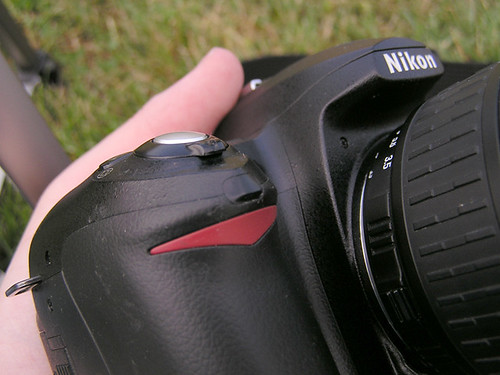
D50_IR Sensor_W

The IR LED on the Pclix makes it difficult to set up so that the sensor on the camera recieves the signal every time.
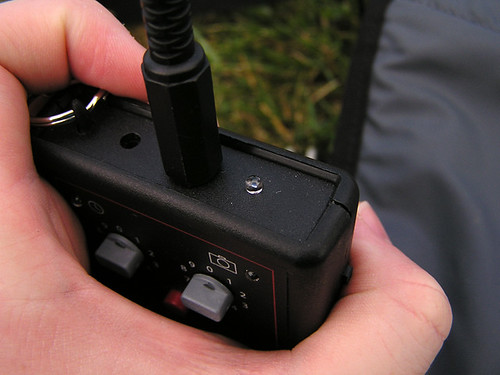
Pclix_IRLED_W

Therefore taping the fiber optic cable to the sensor ensures a shutter trip every time.
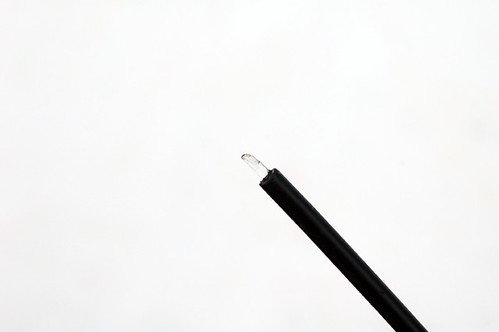
Pclix FiberOp_W

Take note that since I have a Nikon D50 the fiber optic cable was the only option. Other cameras may allow the user the ability to plug a cable straight in to trip the shutter. Pclix has several different options on their site.