Showing posts with label resin. Show all posts

Thursday, January 22, 2009

EWJ Mighty Mugg IV

Fail.

EWJheadnbody_w

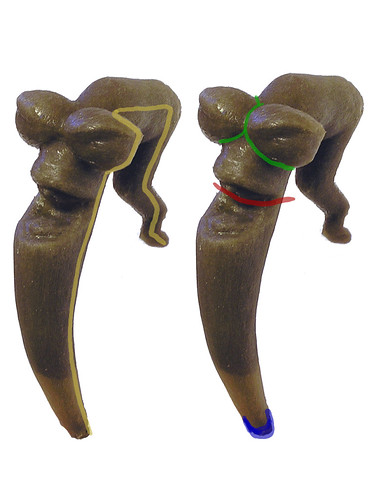
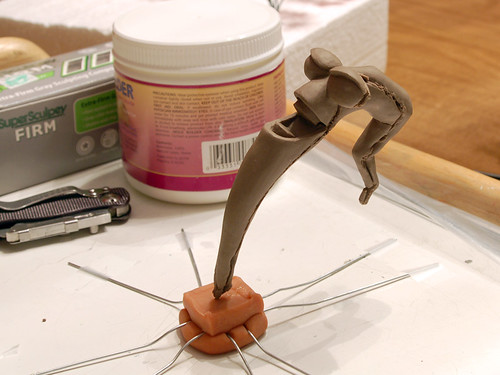
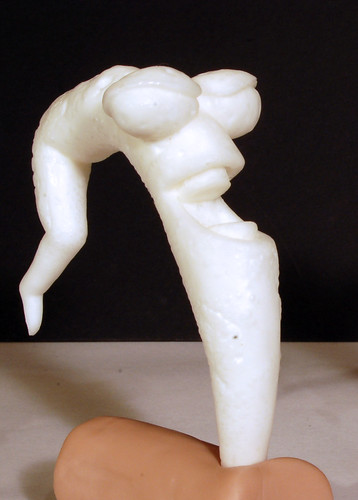
I'm going to sculpt a new head and make a new mold. The proportions are wacked so I plan to make a shorter fatter sculpt with less detail. The paint should take care of what I subtract from the detail on the sculpt. I think that by going light on detail it will be more true to the the style of a Mighty Mugg.

Attacherminus_w

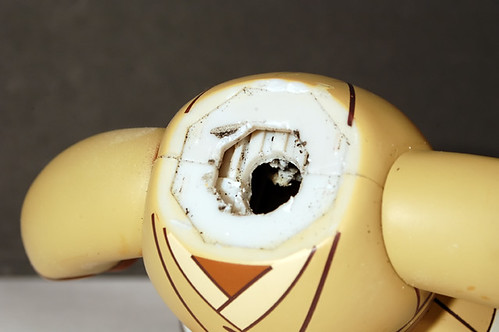
I removed the black piece that attaches the head to the body of the Mighty Mugg. The piece is well housed in the shoulders of the body. So there is no way to pry the neck piece off with pliers without destroying the Mugg body in the process. I recommend carefully removing it with a small rotary tool such as the Dremel.

Mugg Neck

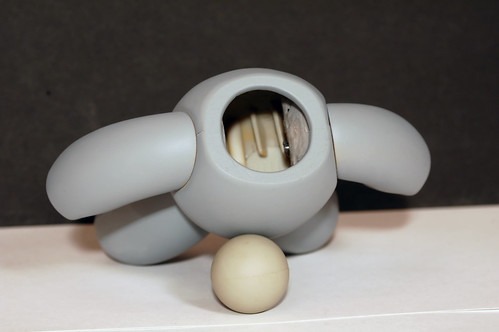
Once I removed the neck piece I decided to sand the shoulders down so that the octagonal lip was no longer visible. I then used the Dremel tool to shape the plastic into the neck hole of the Earthworm Jim suit. In addition to the dremel tool for finer work I used an X-acto knife and sand paper in order to get the shape I wanted.

Mugg Body Primed

Mugg Feet

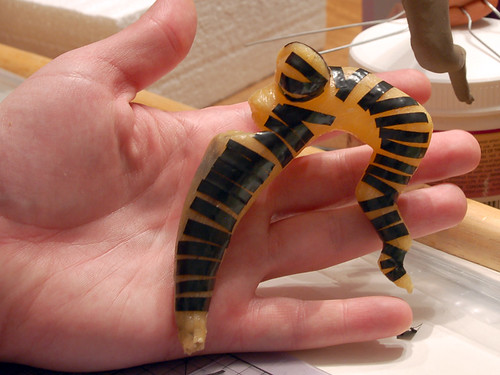
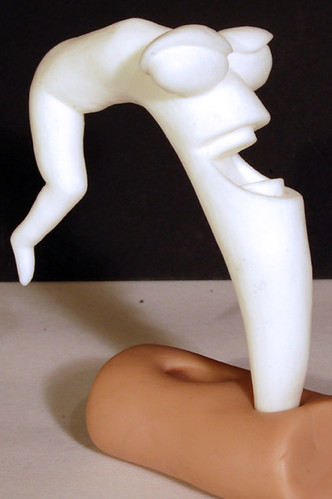
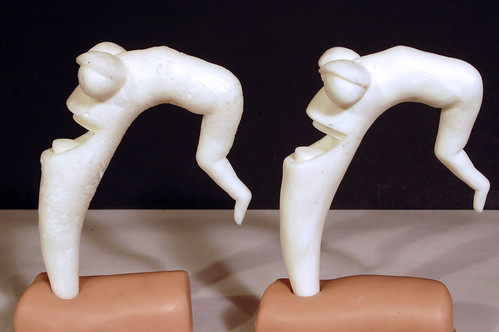
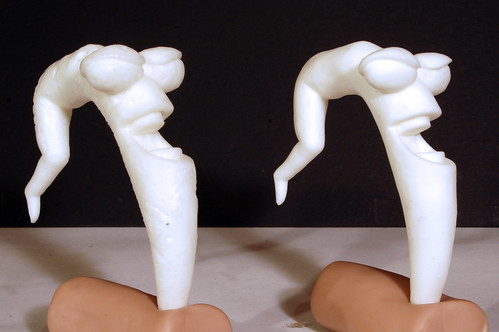
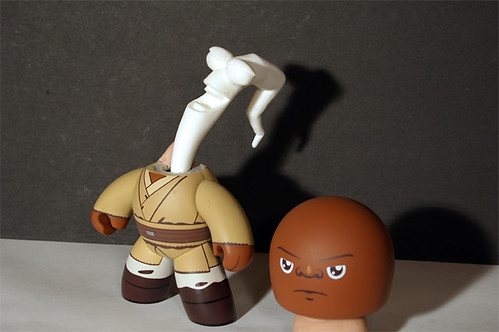
I left the Mighty Mugg logo on the foot for authenticity's sake. The next step is to sculpt a head, backpack, and crow zapper. Then I'll cast them, attach, and paint the parts and I should be done! I'll have to show what the casts look like but I'll try to have it done in two more posts.

Wednesday, December 17, 2008

EWJ Mighty Mugg III

I decided to split the mold down the side as opposed to cutting it into pieces as indicated with the yellow on the left.

EWJ_Cuts

EWJ_Moldcut_W

Here is a photo of the sculpt after I extracted it from the mold. The latex seemed to soak up some of the oils in the clay slightly drying it out. It would still mold like clay, but I thought this a peculiar effect.

EWJ_Sculptcut_w

I then taped up the side and painted a layer of latex over the tape and the seam so resin wouldn't leak out.

EWJ_Taped_w

Tada! Here is the cast I'll be using for my Mighty Mugg Custom.

EWJ_beautyshot_w

Here is the first attempt at making a cast of the mold.

EWJ_Uglyshot

Detail.

EWJ_backneck

Detailed detail.


EWJ_backofhead

Details.

EWJ_castcompare

Deets.

As you can see the result was less than spectacular. After discussing with my assistant what could have caused such catastrophe, we decided that not allowing time for the mold release agent to dry made the bubbles form. Had I properly used the agent, I probably wouldn't have had such a difficult time getting the cast out of the mold on the second try, but after some struggle I was able to get it out without destroying the mold.

EWJ_castcompare34

Detail.


This was a great learning experience. This job is best done with help from another person if the mold isn't easy to work with. Since I had such an odd shape, and I did not take the time to make a brace that would allow me to properly pour the resin myself, my assistant held it while I poured and then we placed the mold in a cup stuffed with gift tissue to let it cure.

I was a bit sloppy with pouring the resin and I accidentally got resin all over my assistant's hands while she held the mold upright. She then waited for me to finish pouring (it starts to set in about 3 minutes) and the resin started to set on her hands. She spent the next hour washing her hands with dish detergent, lava soap, and nail polish remover to get the stuff off her hands and then another half an hour filing her nails.

Use rubber gloves! On the next try I used quite a bit less of the resin and my assistant wore gloves which she highly recommends as well. Because the resin cures so quickly it generates a lot of heat, which is another reason to wear gloves. After careful consideration my assistant and I decided it would be best to snip off the other end of EWJs head so that we could pour the resin in both sides, ensuring no bubbles would form in the narrow tip.

Now on to work on the Mighty Mugg's body, sanding the head, spraying with primer, and painting.